Last updated:
Cables & Routes
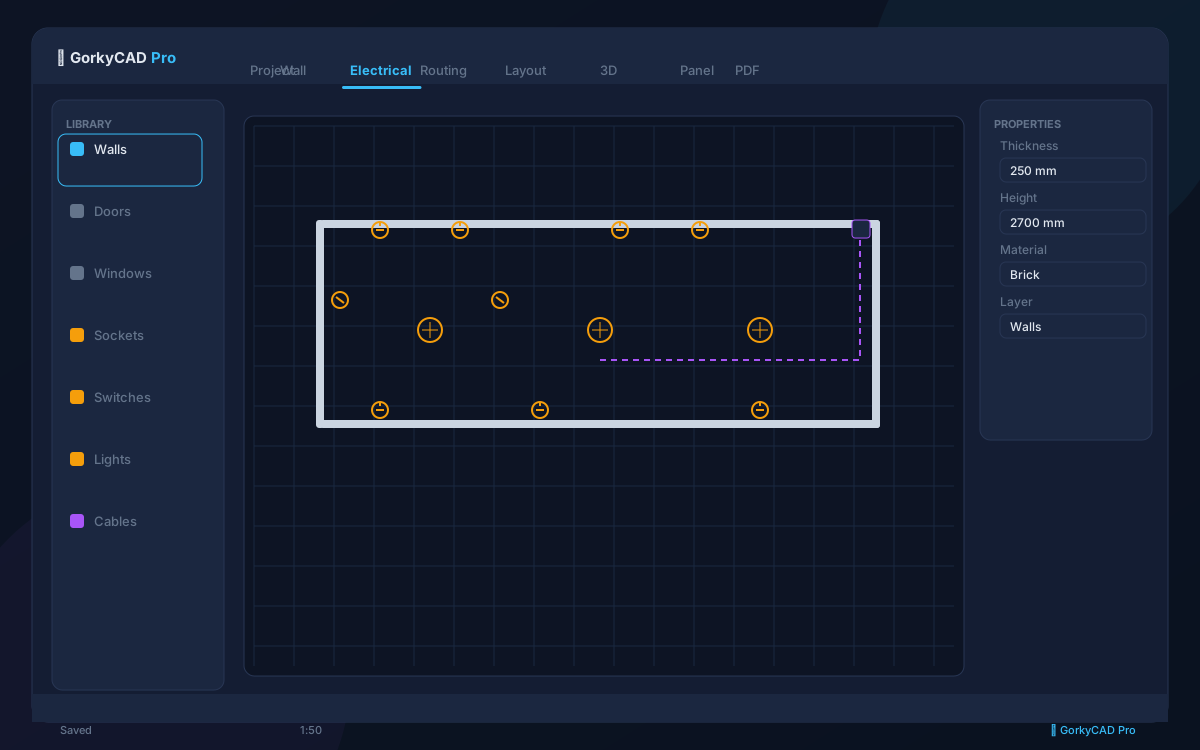
Once electrical objects are placed and groups assigned, GorkyCAD automatically routes cables between panels and objects.
Auto Routing
Click Auto Route or press Ctrl+R. The system:
- Connects every outlet/light to its assigned panel
- Finds the shortest path avoiding walls and openings
- Respects installation method (chased, trunking, exposed)
- Calculates cable lengths
Installation methods:
- Chased in wall — default for residential, requires wall material
- Cable trunking — for offices and commercial
- Exposed on tray — for industrial and basements
- Underground — for external connections
Manual Editing
After auto routing, you can manually adjust routes:
- Drag route nodes to reposition
- Add intermediate points by clicking on a route segment
- Delete nodes with
DeleteorBackspace - Change installation method per segment
Cable length recalculates automatically on any change.
Cable Schedule
The cable schedule is auto-generated and contains:
- Cable ID and type (VVGng, NYM, etc.)
- Cross-section (calculated automatically)
- Length (from routing)
- Installation method
- Connected objects (from → to)
Frequently asked questions
Is this article free?
Yes, all articles and calculators are completely free.
Yes, all articles and calculators are completely free.
Where can I run calculations?
The site offers 21 free calculators: cable sizing, breakers, RCD, voltage drop and more.
The site offers 21 free calculators: cable sizing, breakers, RCD, voltage drop and more.
How do I prepare an electrical project?
In GorkyCAD Pro: plans, panels, calculations and a PDF set for free.
In GorkyCAD Pro: plans, panels, calculations and a PDF set for free.
Found an error in the article?
Write to hello@gorkycad.pro — specialists will review and correct it.
Write to hello@gorkycad.pro — specialists will review and correct it.